Evaporative Test Load for DAQ Testing
Published on
Table of Contents
Every now and then, I come up with a hack for a problem that’s better than a purpose built solution. I love when this happens. I wanted to share a quick story about one such hack that I came up with recently.
Background Link to this section
I’m currently designing firmware for a wearable ring packed full of sensors – think Oura ring, but with medical grade data acquisition. The device is very small with an equally small battery, so we have to be judicious with every Joule of energy spent taking or transmitting measurements from the sensors onboard.
One of the sensors is an impedance sensor for measuring skin conductance. Skin impedance has a surprisingly high dynamic range, and accordingly this sensor has a lot of options for adjusting the gain & sensitivity. Given the power constraints of this product, it’s crucial that the sensor is able to wake & acquire the signal quickly, record only as much data as necessary, then return to sleep just as quickly. Wake and sleep are taken care of for us by the sensor… the trick is in how quickly we can acquire the signal and begin measuring.
Design validation proved to be a challenge Link to this section
Given the importance of quick and efficient data acquisition, I needed a good way to validate the actual behavior when the firmware was deployed. Essentially, I needed a way to generate a controlled impedance and measure the controller’s performance when acquiring the necessary data. Measuring performance was easy… we had lots of diagnostics available. The challenge was actually in designing a controlled impedance that could mate to the fully packaged ring.
At first I tried the manual approach: a fixture with potentiometers and switched Rs/Cs to create different impedances. This was useful for some static testing, but proved not very useful for dynamic testing. For example, I was able to generate sweeping resistances by turning the potentiometers, but my hand was never steady enough to avoid triggering the derivative compensation in the PID controller running in firmware. I needed a way to smoothly sweep impedance across the full acquisition range of the device.
A quick hack that became standard procedure Link to this section
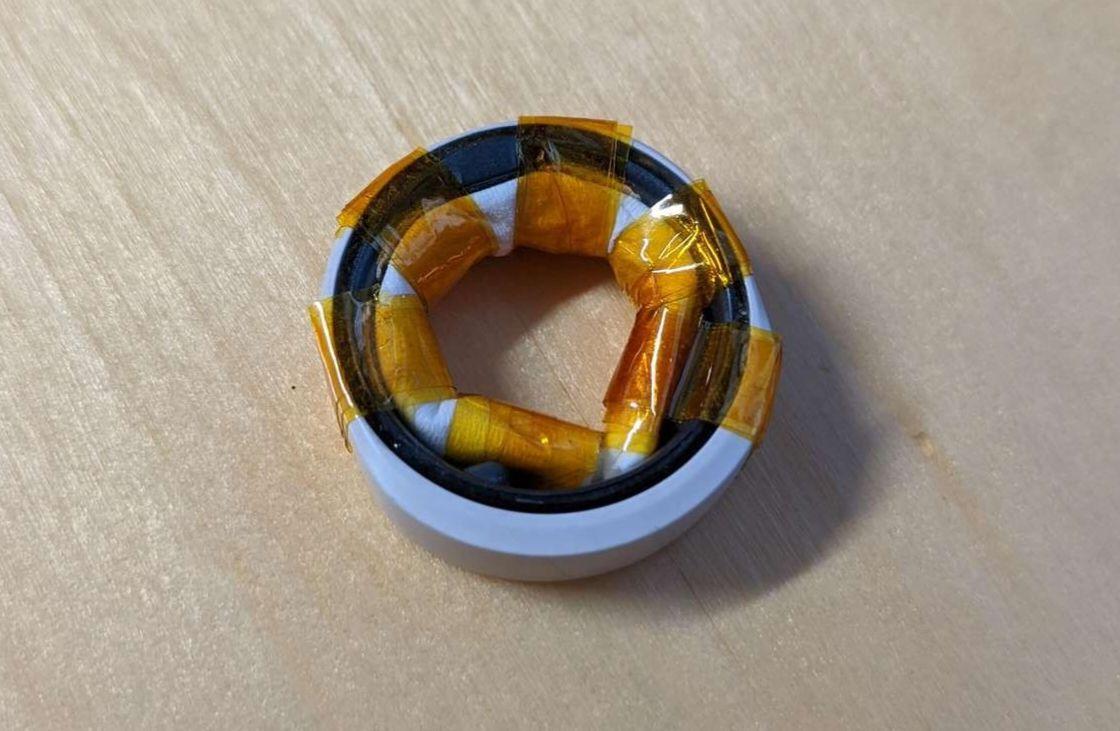
At this point I was tempted to begin designing a programmable load, when I had an idea. A wet cloth would give a nice impedance sweep as the liquid evaporates. At first the cloth would have very low impedance, but the impedance would steadily (and smoothly) increase as the cloth dried out.
So I decided to give it a try. One Kimwipe, a few strips of Kapton tape, and
about 5 minutes of my time were all it took:
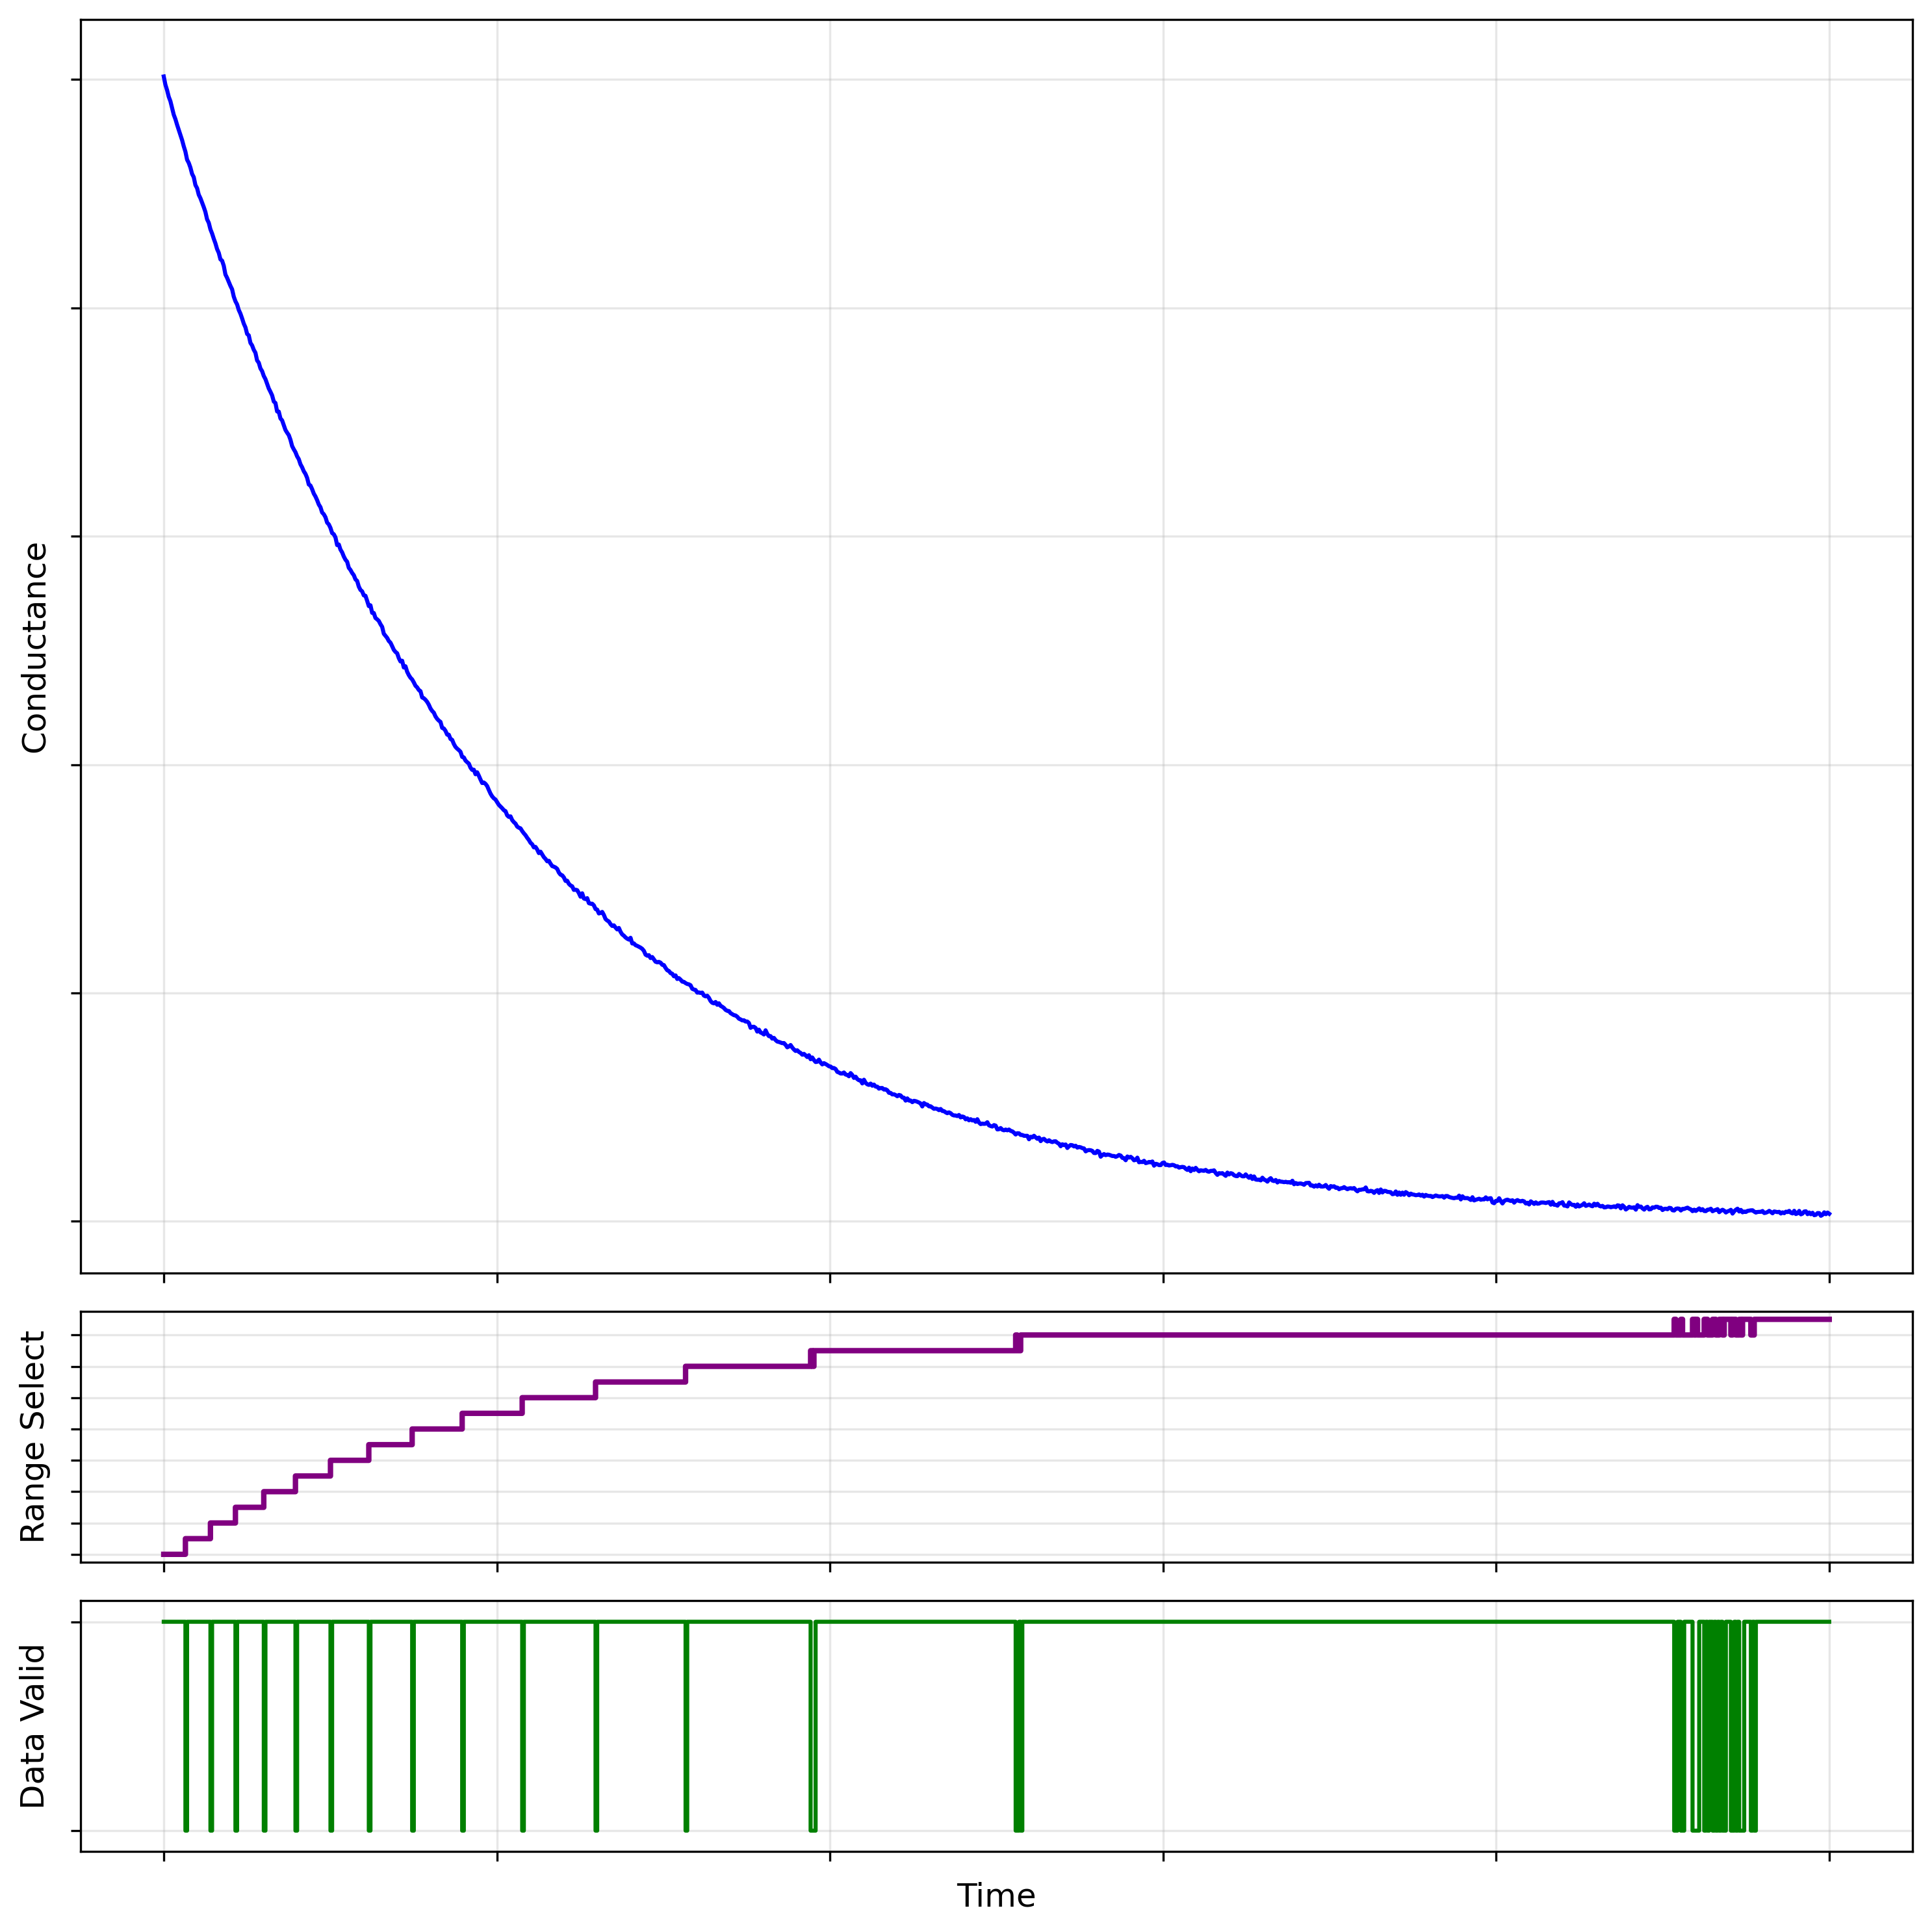
The results were perfect! Although the sweep was not linear (more like an exponential decay), it was smooth, repeatable, and very useful for monitoring DAQ performance. I was able to re-soak the cloth to re-run tests, and the results were very repeatable; exactly what I needed from my validation setup.
Here is an example impedance sweep I was able to capture (measured as
conductance instead of impedance):
Conclusion Link to this section
It felt a little silly soaking and drying a cloth to test an electronic device, but you can’t argue with results. In the end, I’m glad I didn’t go through the trouble designing a programmable load, when all I needed was a few scrap materials and some water 😂